
Linux Mint is one of the most widely used Linux distributions, ranking as the second-largest Linux-based operating system in the world. It is a community-driven distro based on Ubuntu, built on Debian. Linux Mint comes packed with a variety of free and open-source applications. Below is a detailed guide to installing Linux Mint, broken into four main steps:
- Preparing the Installation of Media
- Booting from the USB Drive
- Running the Installation Process
- Completing the Setup
Read More: Configure a Linux Firewall: Three Approaches
Step 1: Preparing the Installation Media
- Download the Linux Mint ISO File
Visit the official Linux Mint website and download the ISO file. Select the desktop environment (e.g., Cinnamon, MATE, or Xfce) that best suits your needs.
- Create a Bootable USB Drive
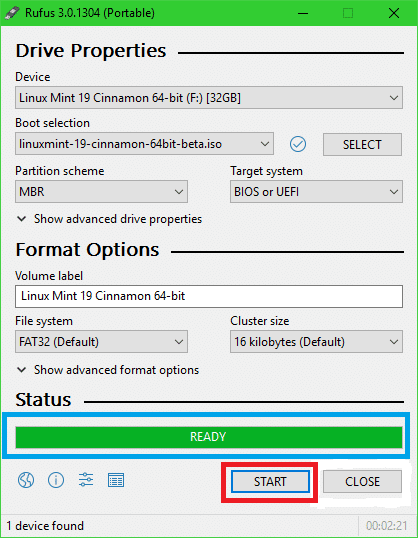
- For Windows Users: Use Rufus to create the bootable USB drive.
- Open Rufus, select your USB drive, and click the “Select” button under “Boot selection.”
- Choose the downloaded Linux Mint ISO file.
- Click “Start” to begin flashing the ISO to the USB drive.
- For Windows Users: Use Rufus to create the bootable USB drive.
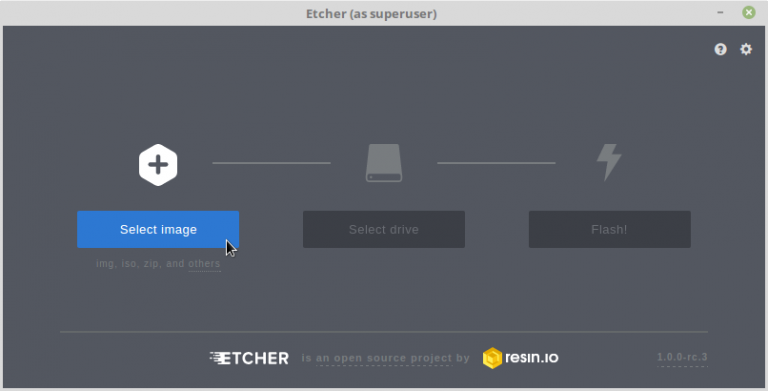
- For Linux Users: Use Etcher. The process is similar, select the USB drive, choose the ISO file, and start the flashing process.
Step 2: Booting from the USB Drive
- After creating the bootable USB drive, unplug it and shut down the computer where you want to install Linux Mint.
- Plug the USB drive into the computer and power it on.
- Press the boot key (this varies by manufacturer; common keys include F12, F2, Esc, or Del) to access the boot menu.
- From the boot menu, select the USB drive to boot from it.
- Once the system boots, the Linux Mint desktop will appear. Double-click the “Install Linux Mint” icon to begin the installation.
Step 3: Running the Installation Process
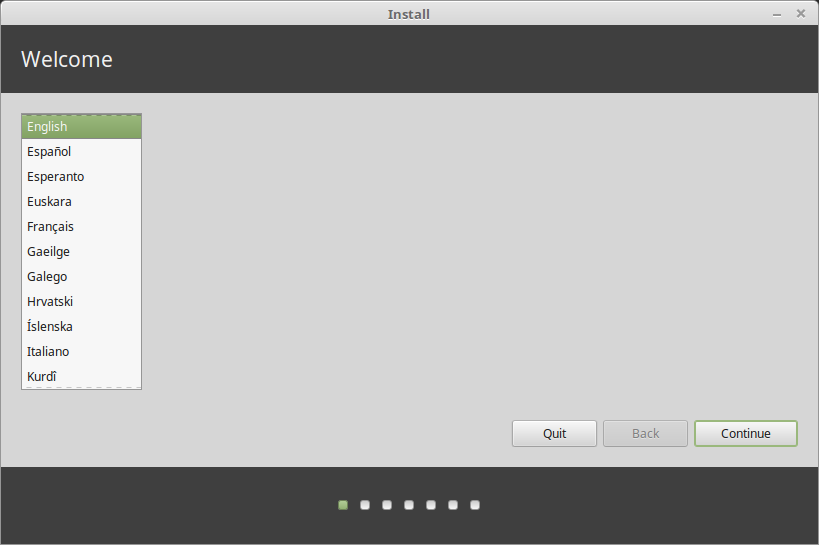
- Select Your Language: Choose your preferred language for the installation process.
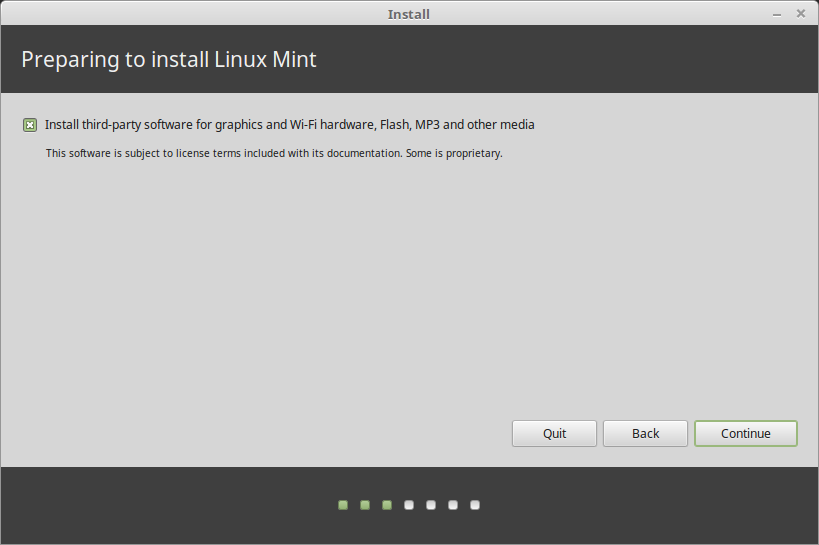
- Connect to the Internet: Ensure you are connected to the Internet. If you want to install multimedia codecs, tick the appropriate box.
- Choose Installation Type:
- If Linux Mint is the only operating system you want and you don’t mind losing existing data, select “Erase disk and install Linux Mint.”

- For advanced users, you can manually create partitions (e.g., a 10 GB EXT4 partition for Linux and an 8 GB swap partition). Click continue.
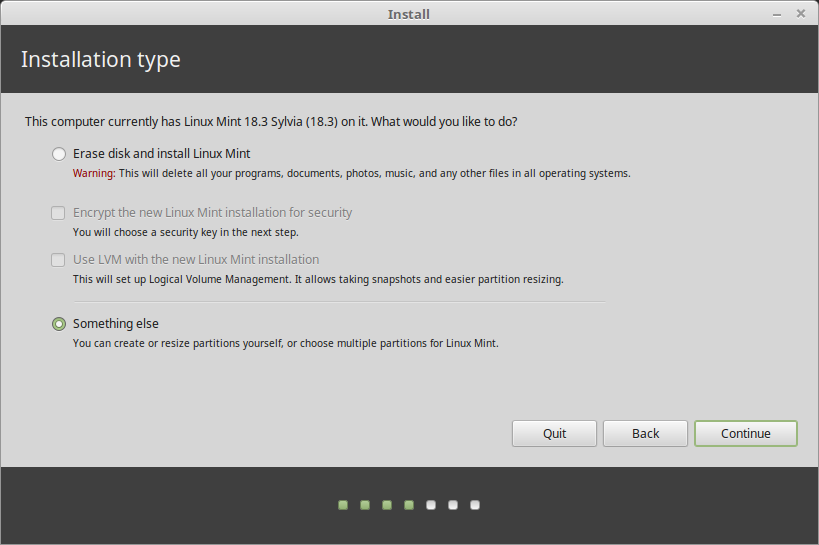
If you want to dual-boot with another OS, choose “Install Linux Mint alongside [existing OS].” The installer will resize your current OS and allocate space for Linux Mint. A boot menu will allow you to choose between the two operating systems at startup.
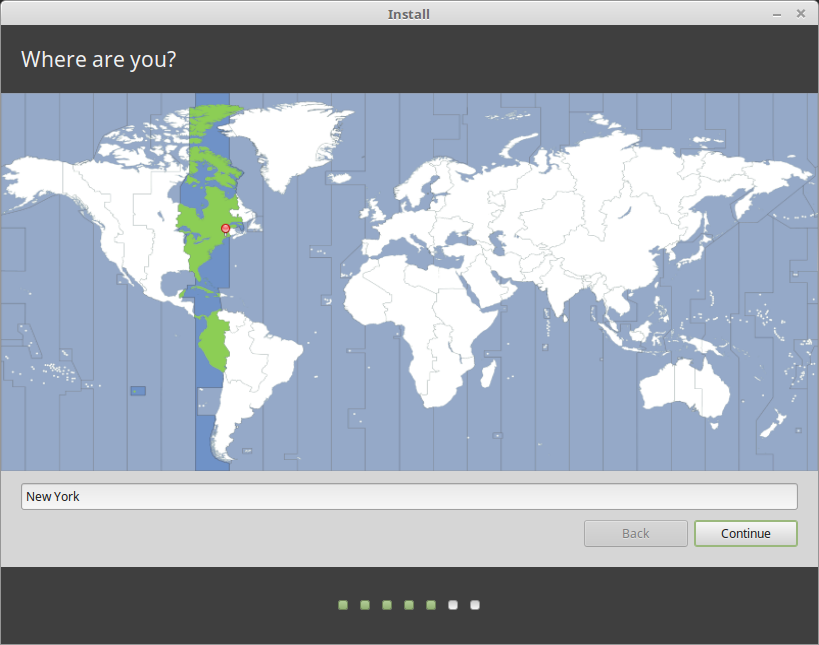
- Select Your Timezone: Choose your geographical location to set the correct timezone.
- Select your keyboard layout: Choose the keyboard layout that matches your hardware.

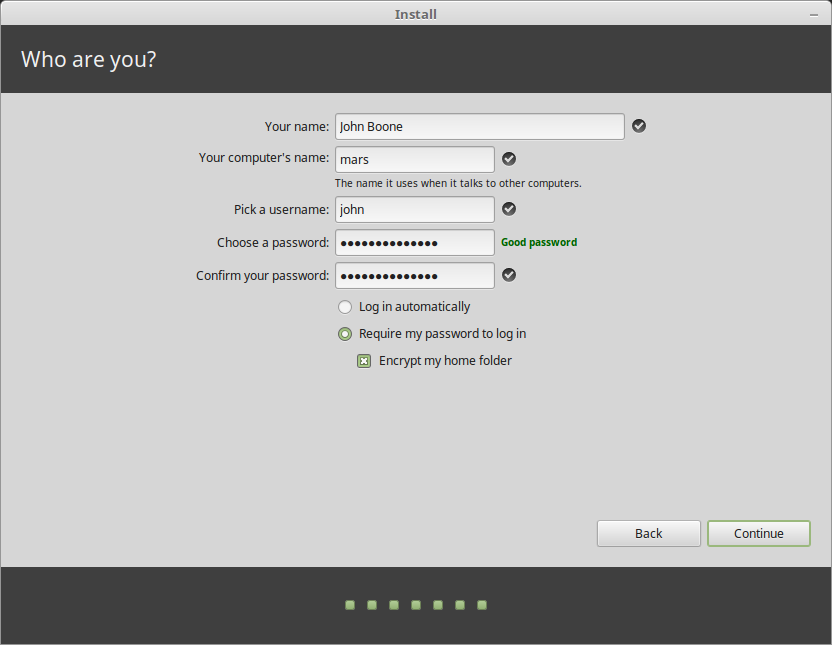
- Enter User Details: Provide your name, computer name, username, and password.
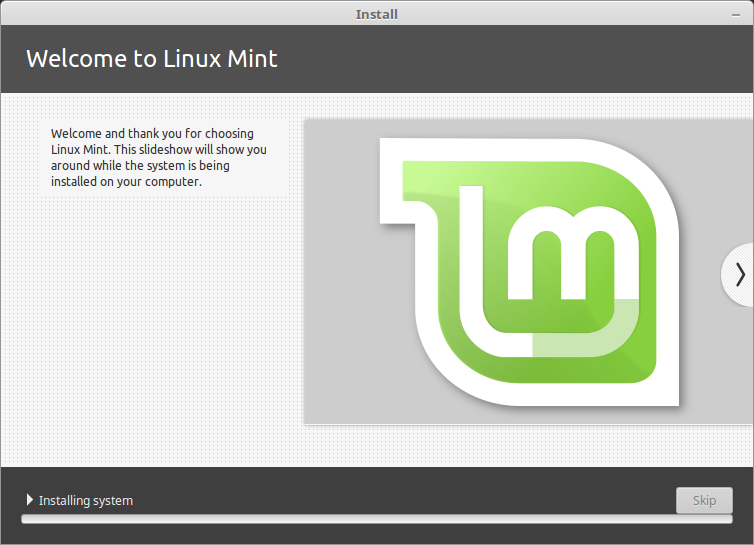
- Begin Installation: Click “Continue” to start the installation process. This may take some time.
- Restart the System: Once the installation is complete, click “Restart Now.” Remove the USB drive when prompted.
Step 4: Completing the Setup
After rebooting, your computer will display a boot menu (if dual-booting) or directly start Linux Mint. Log in with the credentials you created during installation and you’re ready to use your new Linux Mint system!


