
Testing software across multiple platforms is crucial for a programmer. However, managing multiple virtual machines can be time-consuming and inefficient. Fortunately, if you are using Windows and need to run a Linux distribution, the Windows Subsystem for Linux (WSL) offers a streamlined solution. WSL allows developers to run a Linux or GNU environment directly on Windows, providing a bash terminal without the need for a full virtual machine or dual boot setup. This makes it a lightweight and resource-efficient option.
Read More: How to install PHP 8.4.3 on Windows 11?
Installing WSL and Running Linux on Windows 11
Here’s a step-by-step guide to installing WSL and running Linux on Windows 11:
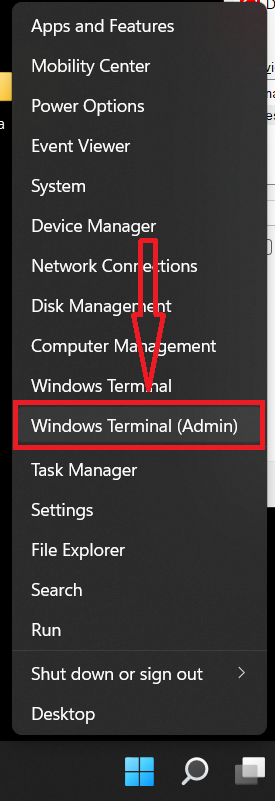
Step 1: Open Windows Terminal
- Right-click the Start button on the taskbar and select ‘Windows Terminal (Admin)’.
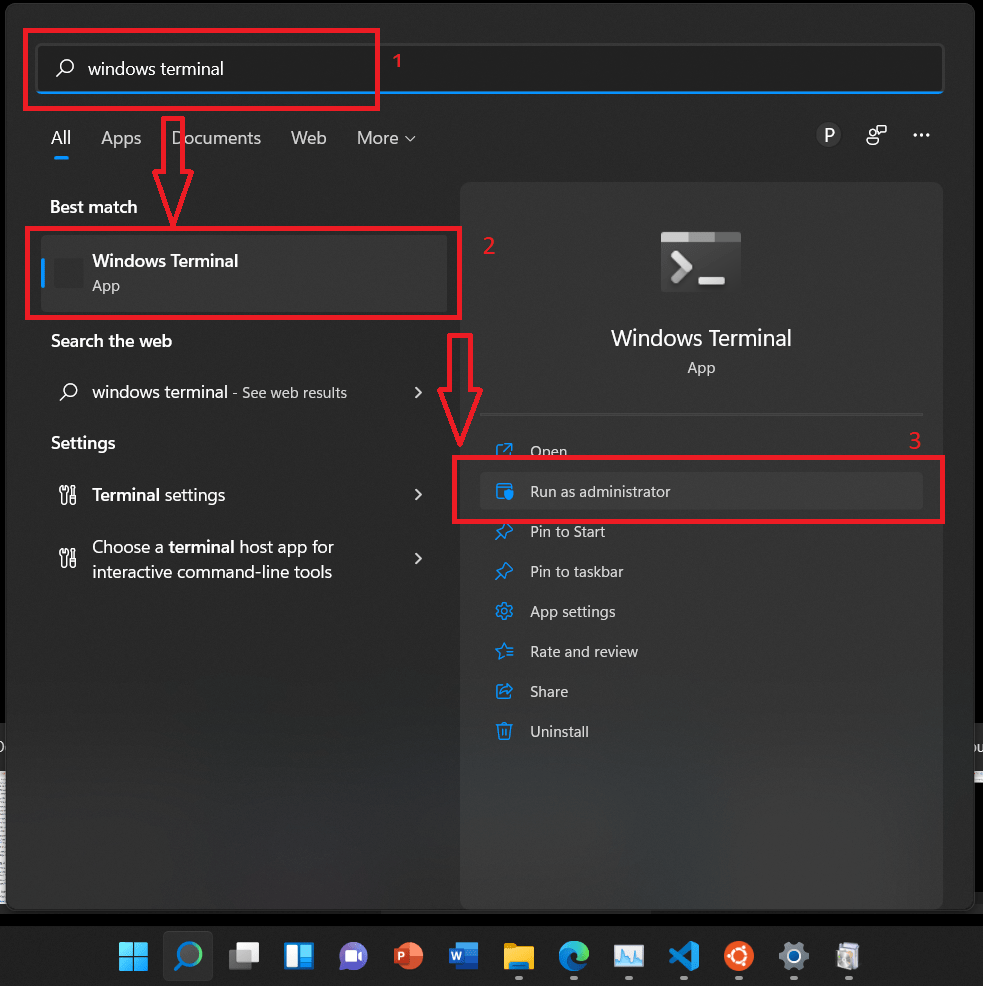
- Alternatively, click the Search icon, type ‘Windows Terminal’. From the right-hand menu, choose ‘Run as Administrator’.
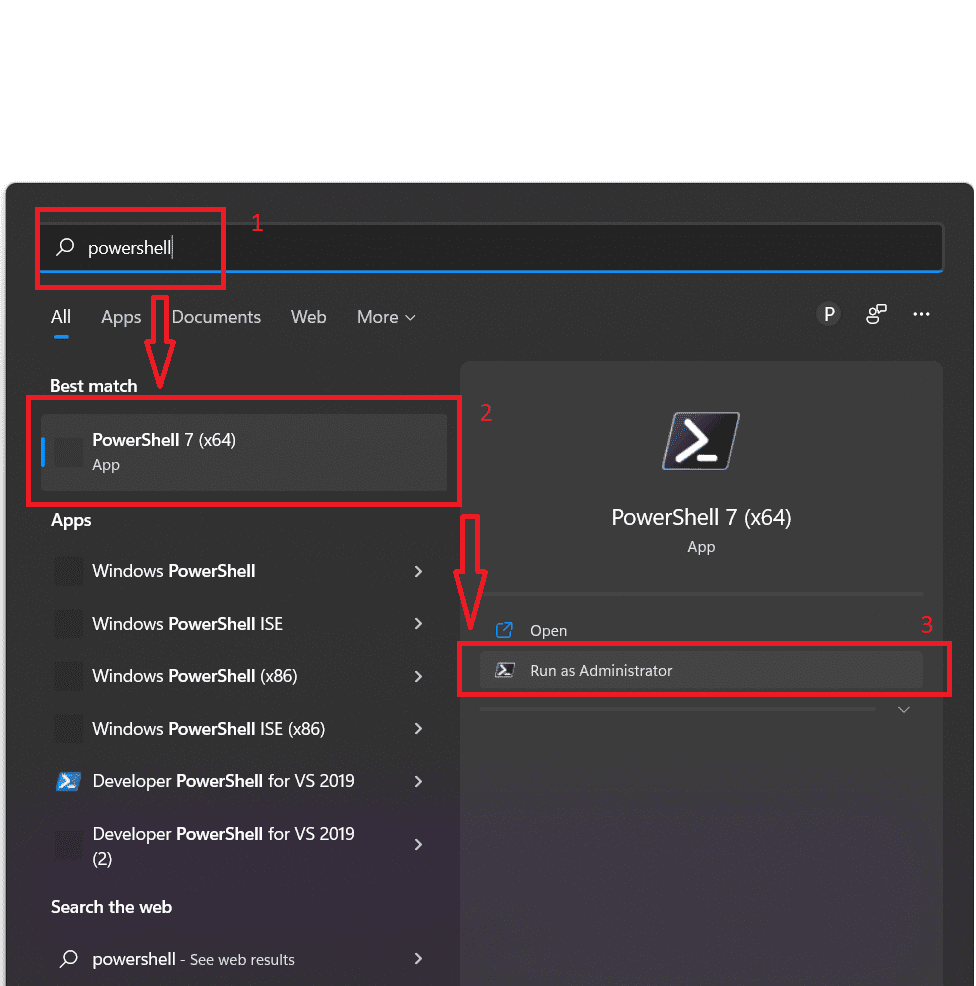
- You can also use PowerShell for the installation. Search for ‘PowerShell’ and select ‘Run as Administrator’.
Step 2: Install WSL
In the terminal or PowerShell, type the following command to install WSL:
wsl --installOnce the installation is complete, Windows will prompt you to restart your computer.
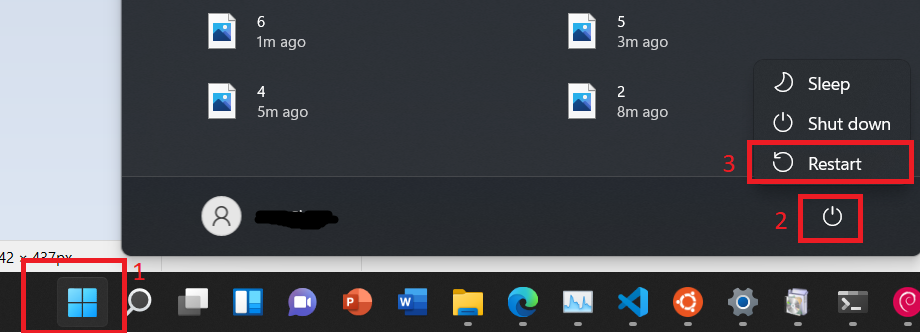
Step 3: Restart Your PC
Click the Start button, go to Power, and select Restart. Alternatively, press Alt + F4 and choose Restart from the options.
Step 4: Install a Linux Distribution
After restarting, reopen your terminal or PowerShell. You can now install any Linux distribution by running:
wsl --install -d <distribution-name>For example:
- To install Kali Linux, type:
wsl --install -d kali-linux- To install Debian, type:
wsl --install -d DebianStep 5: View Available Linux Distributions
To see a list of all available Linux distributions, run one of the following commands:
wsl --list --onlineor
wsl-l-oStep 6: Set Up Your Linux Distribution
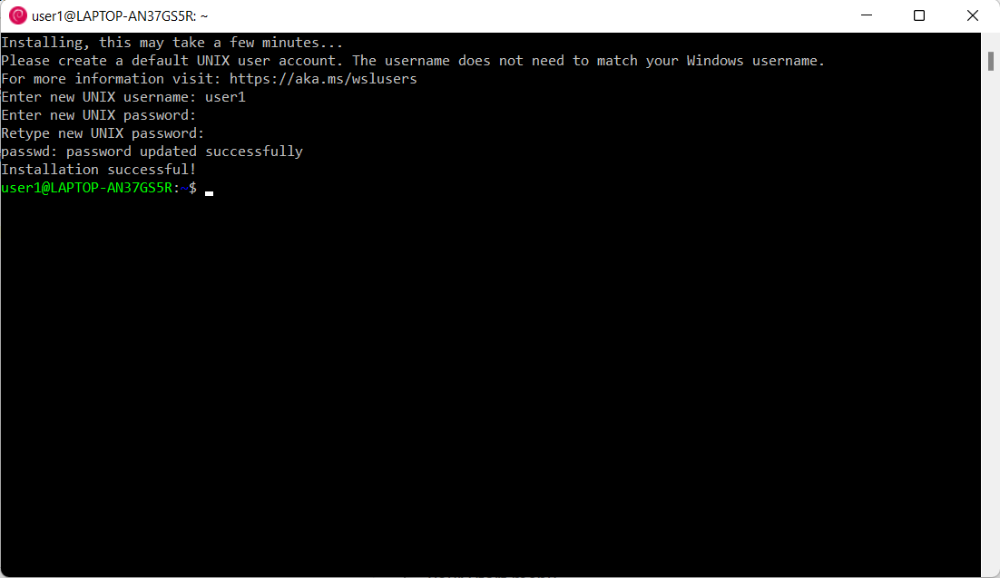
Once the distribution finishes downloading, a new window will open. You will be prompted to create a username and password. After entering these details, you will be ready to use Linux on Windows.
Step 7: Update Your System
After installing your chosen distribution, it is highly recommended to update your system by running:
sudo apt-get updateThis ensures your installation is up-to-date and ready for use.
Closing Remarks
The Windows Subsystem for Linux (WSL) is a powerful tool for developers who need to run Linux environments on Windows without the overhead of virtual machines or dual-boot setups. By following the steps outlined above, you can easily install WSL, set up your preferred Linux distribution, and start using Linux directly on Windows 11. This lightweight and resource-efficient solution not only saves time but also enhances productivity by allowing seamless cross-platform development and testing. Once installed, remember to keep your Linux distribution updated to ensure optimal performance and security. With WSL, you can enjoy the best of both worlds, Windows and Linux, on a single machine.


